Installing XENIX 386 on a real intel 486 PC Part 1
Saturday, June 7, 2014, 07:46 PM
Posted by Administrator
Well, sometimes you would like to try something you never tried before.
So after installing many times Linux on my newer PCs, I thought it would be fine to have Xenix 386 also installed, to play with it, or better, to compile some programs also (e.g. the "hack" game).
After I got the 7 Xenix floppy disk images (N1, N2, B1, X1, X2, X3, X4 for 3.5" HD media) from someone, I had to write the images back to real floppy disks first.
Unfortunately WINIMAGE does not know how to handle non-FAT formatted floppies.
Also, RAWWRITE (using real raw images) does only write tracks (sub)sequentially back, so if you write 720KB images back to a HD floppy disk, RAWWRITE generates junk.
So I decided to use my "
disktool" I already used also for writing CP/M-86 disks.
After this, I tried to boot from the N1 (the only one which boots)floppy disk.
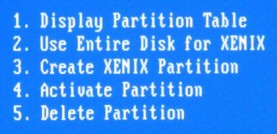
This worked as intended, but after going on within the installation dialog, I recognized there should be non-used space left on your harddisk to create a Xenix Partition.
I wanted to have a DOS partition (1st Partition) and also a Xenix Partition (2nd Partition).
It was a bit strange because I thought I can "re-use" the already existing extended DOS partition, which I didn't used so far. No, I had to go back to DOS, start FDISK, and delete the logical and extented partition first. THEN I was able to go on, choosing "Create XENIX Partition".

Btw. this was not really bad luck, because before I rebooted it for FDISK, I choosed to display the partition info within the Xenix installation dialog (and I remembered these numbers later on when creating the Xenix partition...).
Some uncommon questions raised then, after I was able to wrote the base/minimal system.
It asked me not only for a name of a non-american timezone (for me, CET), it asked me what parameters the timezone have, and what name the summer time has (? for me, it was always CET+1, but Xenix don't like to get a '+' in the name of the timezone).
My last floppy I had to insert, N2, had an error, and I got also a strange message "tar: tape read error".... I didn't used a tape, but on all other floppies except N1 just a single big tar file is existing. So I had to use another floppy disk, which was prepared in hurry from me again, too.
Then at the end, it asks me for a "link kit serilization". I didn't expected again such a question because I already typed in the serial number for the OS.
So I tried to enter the already used number again, and voilą, it worked ;-)

The whole installation (option 'ALL') occupied 13.3 MByte.
Very helpful also:
The Xenix FAQPart 2 will follow with the description of my experience I made with the XENIX development environment.
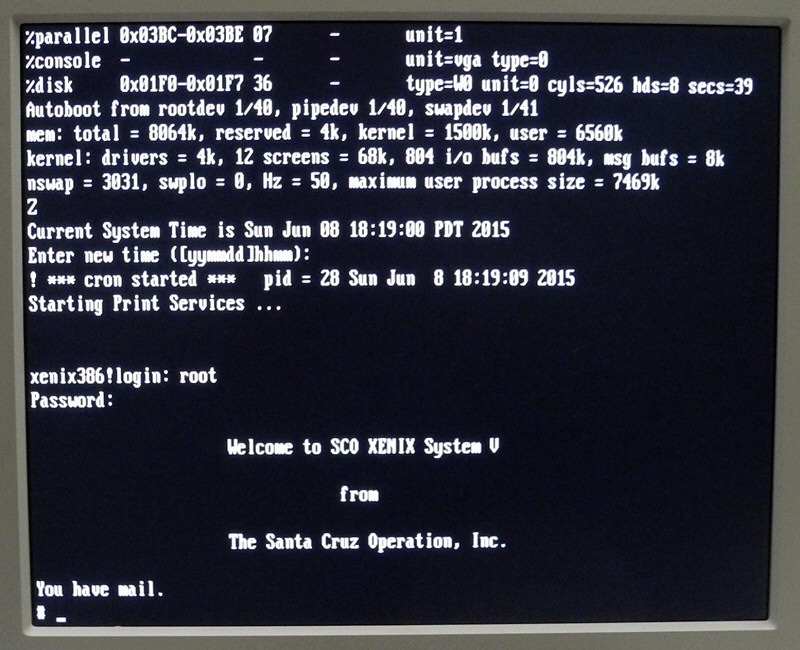
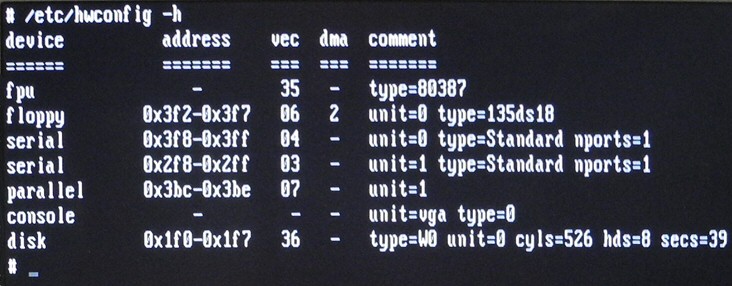
P.S.: Xenix 386 2.3.4a supports MFM, IDE, RLL and also SCSI harddisk drives, so it also works in a virtual environment as well as on a real system. I've read it will not work with a Pentium machine, so please give me a feedback if you was able to install it on a newer system than my 486. This is my hardware configuration I used (80MB IDE drive):

P.P.S.: Beware of the Y2K bug in Xenix. Look for
xnx427d.Z in known internet search engines.


 Random Entry


